Installation
Note
If you need to install Anthill Platform on Windows or Mac OS X for development purposes, see Development instead. This page describes installation steps on Linux (Debian 8 or 9) for production purposes.
Along with actual services, Anthill Platform consists of a lot of external components. Configuring them might be quite challenging, so using Puppet in recommended.
What will be installed
- Nginx as a reverse proxy and a load balancer
- MySQL 5.7 database for primary content storage
- Redis for fast key/value
- RabbitMQ for internal communication across services
- Supervisor to roll actual services
- Python 3.6 with bunch of packages
- Bunch of Debian packages themselves
Puppet can handle all of these dependencies for you. If you don’t know what Puppet is, please follow here. For mode detailed steps (if would be necessary) please see this article.
Installation Steps
1. Choose a domain name
In order you clients to reach your servers, a public domain name (like
example.com) should be bound to machine’s IP address(ses). Simplest
way would be to create A record for *.<domain>.com, for example
*.example.com. That would make go any of subdomains requests to this
machine (like foo.example.com/test or bar.example.com/test).
2. Install Debian
Setup Debian operating system on the target machine with SSH server running. Currently, Puppet configuration supports only Debian 8 and 9. This tutorial assumes that you have apt updated and working with root privileges.
Please pay attention to define correct hostname to the machine you’re installing Debian on. As described in previous step, having correct hostname might save your time.
Good practice example See
<region>-<number>-<environment>.example.com
- region
- ISO 3166 shortcut for the country the server is located in
- number
- Incremented number to discriminate several servers in same country
- environment
production,dev,beta, etc, depending on the application
3. (Optional) Add SSH keys
Upload your public SSH key to target machine so login would go faster:
ssh-copy-id <username>@<hostname>
If you haven’t generated your keys yet, do ssh-keygen.
4. Install Puppet
First of all, add the puppet’s deb package to the apt:
cd ~ && wget http://apt.puppet.com/puppet5-release-stretch.deb
dpkg -i puppet5-release-stretch.deb
apt update
cd ~ && wget http://apt.puppet.com/puppet5-release-jessie.deb
dpkg -i puppet5-release-jessie.deb
apt update
Puppet is primarily made of two components: Puppet Server and Puppet Agent. Puppet Server used to hold configurations (like “we need database and nginx”). Puppet Agent actually applies these configurations (like “install database or nginx using Puppet Server configuration”).
Practically, a system have one Puppet Server node, and many Puppet Agent nodes, so once applied on the Server, all Agents will install those configurations on machines they running. A minimal setup is to have both Puppet Server and Puppet Agent on a same machine.
Hint
Depending on your current requirements, you can either have all of the services on a single node, or split them among multiple instances. On a multi-node environment you would need to install Puppet Master on some node, and just Puppet Agents on the rest of them.
apt -y install puppetserver
To install the Puppet Server on the Master node
apt -y install puppet-agent
To install the Puppet Agent on the Agent nodes
apt -y install puppetserver
To install both Puppet Server and Agent on the same node
5. Configure the Puppet Server
This step is required on the Master node only (and for single-node environment node too).
/etc/init.d/puppetserver start
Then make sure it’s running using this:
/etc/init.d/puppetserver status
If it’s running, run this to make sure puppet starts when the systems boots:
/opt/puppetlabs/bin/puppet resource service puppetserver ensure=running enable=true
6. Configure your environment
Fork this repository: https://github.com/anthill-platform/puppet-anthill-dev
The repository above has a minimal configuration required for a dev environment. It consists of a two main parts:
The environments/ folder
This folder contains all of your environments you need. For example, you
may need two environments: dev for a development and early-testing
of new features and production for actual production releases.
Every environment folder should have such structure:
environments/
    dev/
        manifests/
            init.pp
        modules/
            keys/
                anthill.pem
                anthill.pub
                * other keys *
File
manifests/init.ppis the main configuration file for the environment. According to the Puppet language, it tells which service belongs to each node. Please see Puppet Configuration for details.The submodule
modules/keysis a special module for your private keys. Anthill Platform uses asymmetric cryptography to authenticate users. To do so, an encrypted private/public key pair should be generated (anthill.pemandanthill.pubfrom the example above).Please see Authentication Keys for a simple instruction on how to generate your keys.
The modules/ folder
This folder contains all modules Puppet needs, including modules for Anthill Platform itself, and some external modules from open-source developers.
7. Deploy your Puppet Configuration repository onto the Master node
The configuration repository need to be placed at
/etc/puppet/code folder:
cd /etc/puppetlabs
rm -rf code
git clone https://<your fork>.git code
cd /etc/puppetlabs/code
git submodule update --init --recursive
8. Configure the Puppet Agent on each Agent node
Once Puppet Server is configured, Puppet Agents can be used to install your environment on the actual machines.
If you’re installing the Puppet Agent on a different machine than Puppet Server, do this:
apt -y install puppet-agent
Once you have Puppet Agent package installed, the Puppet Agent will need to know where puppet Server is located, and what environment to work on:
nano /etc/puppetlabs/puppet/puppet.conf
Set these options:
[main]
environment = <environment>
server = <hostname>
The <hostname> option is the Puppet Server location. In a minimal
installations, it’s a current machine hostname.
The <environment> option dictates what environment this Puppet Agent
belongs to.
9. Fire the Puppet Agent
To install actual software, run the following command
/opt/puppetlabs/puppet/bin/puppet agent --test --certname=<domain name of the machine> --environment=<environment>
Note
If you’re trying to run Puppet Agent on a different machine from Puppet Server, the first run of the
Agent might just return with Exiting; no certificate found and waitforcert is disabled error due
to Agent certificate not being signed. To fix this, sign the Puppet Agent’s certificate on a Puppet Server
node: /opt/puppetlabs/puppet/bin/puppet cert sign <domain name of the puppet agent's machine> and re-run.
Attention
If you’re experience the problem related to SSL, please see SSL: Regenerating all Certificates in a Puppet deployment.
From now on, if you need something changed, just commit these changes
into your Puppet Configuration repository, pull it on place, and apply
with /opt/puppetlabs/puppet/bin/puppet agent --test again like described above.
The actual installation will take a while (up to several hours), and if everything goes fine, you will have such things configured:
- mysql-server 5.7 installed and configured
- databases created for each service along with database accounts
- nginx installed and configured to reverse-proxy each service at a different location
- nginx vhost record is created for each service
- rabbitmq installed and configured
- redis installed and configured
- supervisor installed and configured
- each service is registered in supervisor as a program that can be turned on or off
10. Done
Reboot the system. From that point you should have a fully configured service running on one machine.
Open
http://admin-<environment>.<external domain>/in your browser.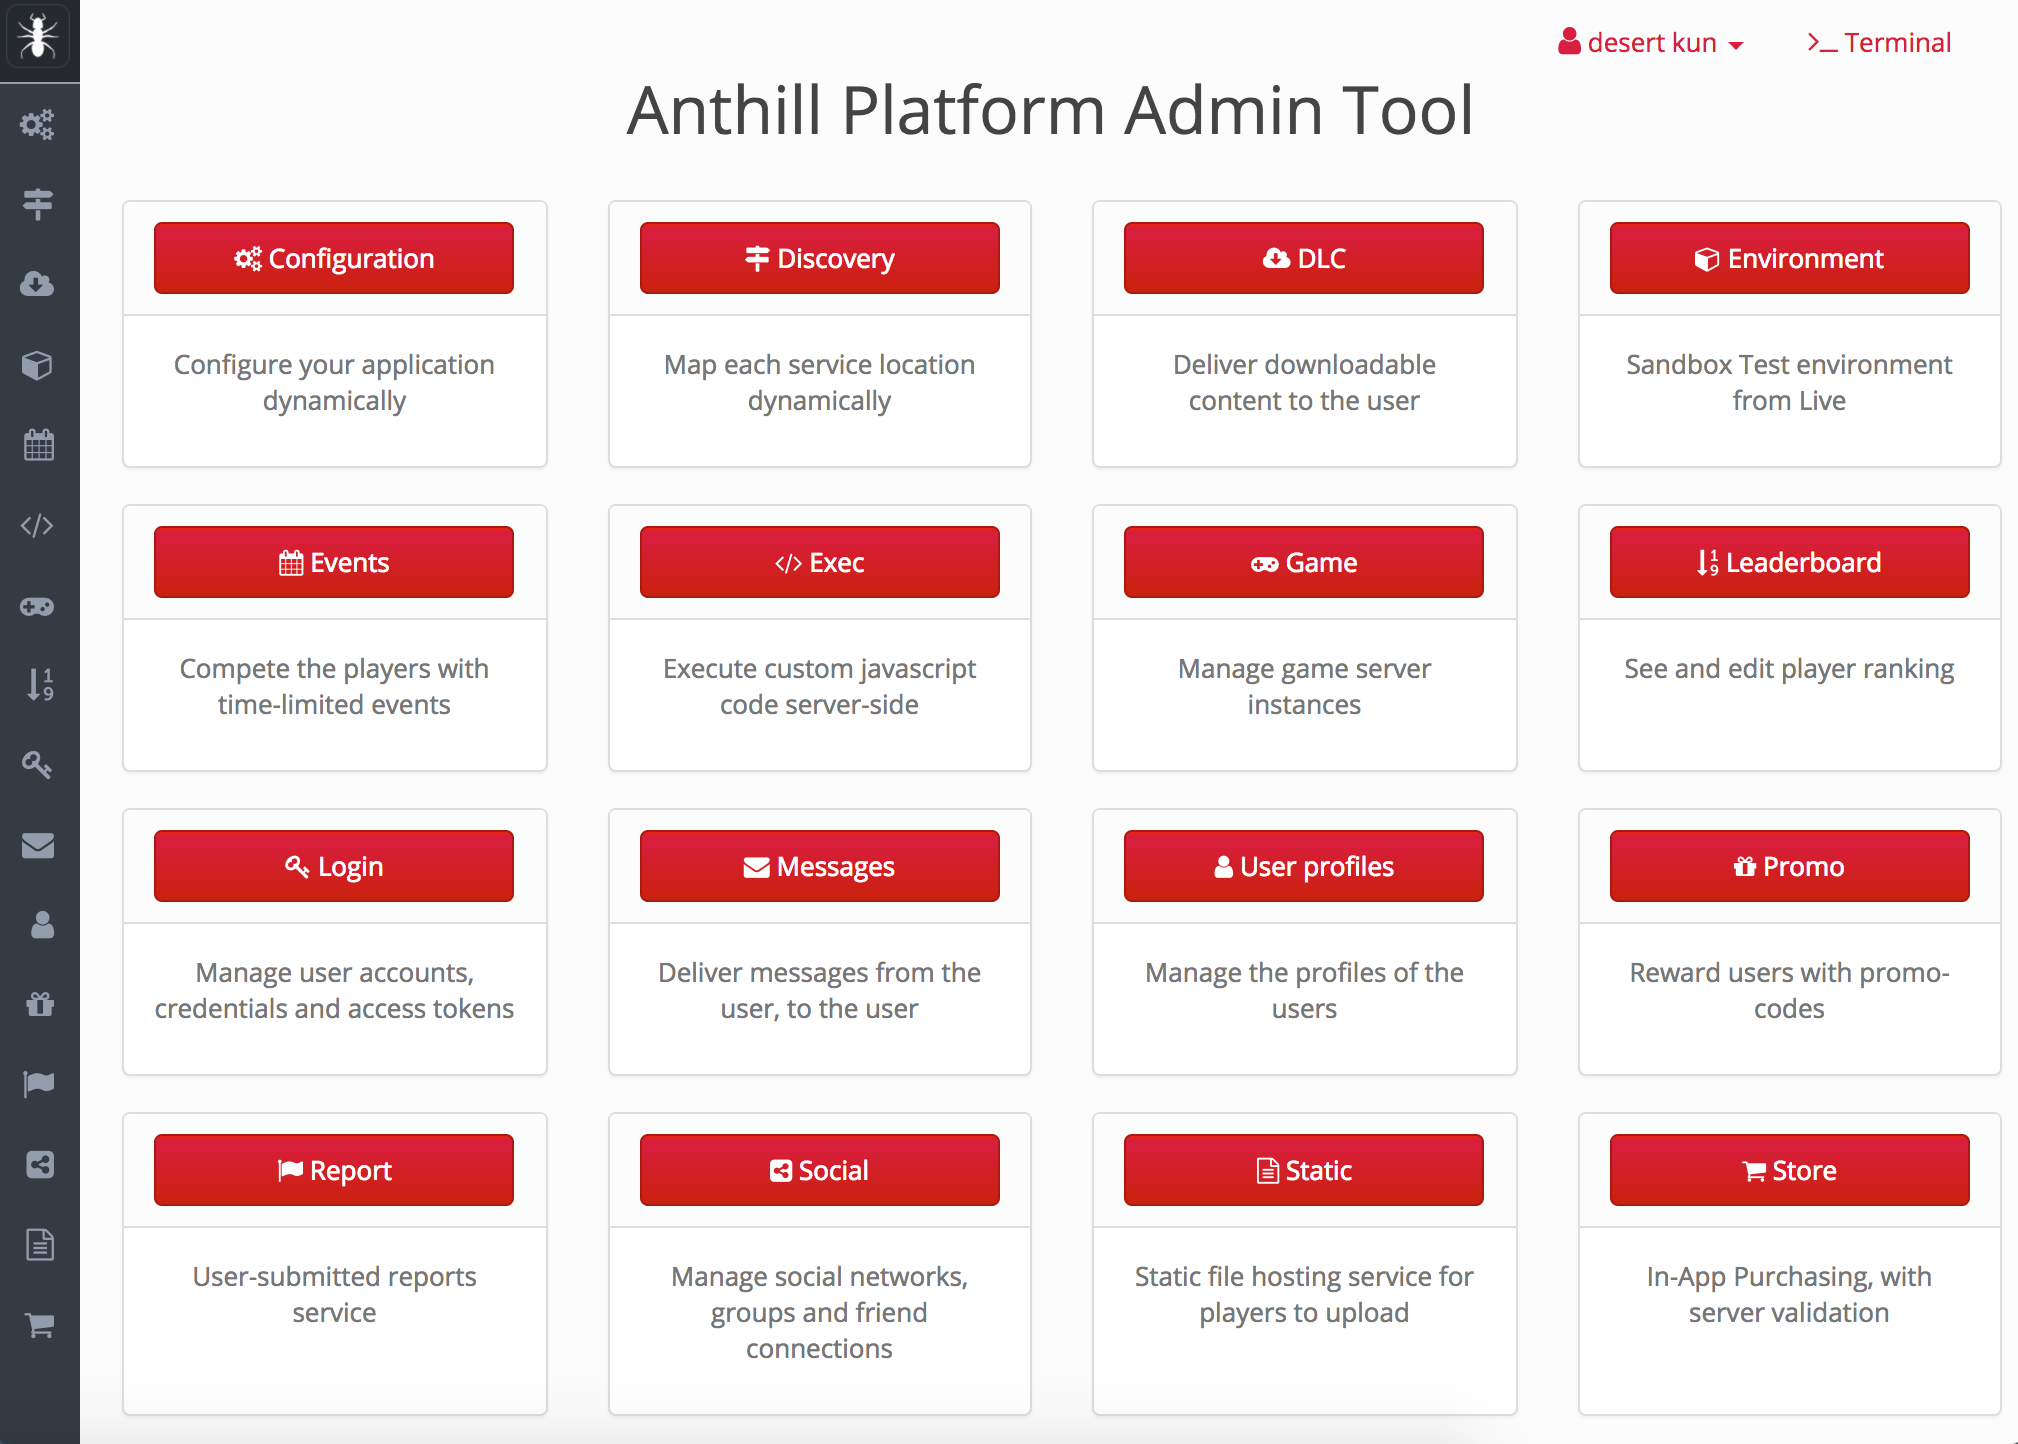
Login using username
rootand passwordanthill.
Authentication Keys
Anthill Platform uses Public-key cryptography to authenticate users. The idea is goes as follows:
- User authenticates himself in the system, giving credentials
- The short-lived access token is issued with Private key
To validate the access token, the Public key is used. The public key is indeed public and can be stored at any service. Unlike the public key, the private key is stored securely (using passphrase) on the Login service only. To do so, an encrypted private/public key pair should be generated.
Pick some strong passwords
The private key is a very sensitive piece of information, so it should encrypted with a strong password. Please generate a complex password, that will be used to encrypt the actual private key.
Edit the environments/<environment>/manifests/init.pp file and
change this section:
class { anthill::keys:
  authentication_private_key_passphrase => "<password A>",
  authentication_public_key => "puppet:///modules/keys/anthill.pub",
  authentication_private_key => "puppet:///modules/keys/anthill.pem",
}
This class will take care on actual installation of these keys.
Generate the key pair
Then generate the actual keys:
cd <repository location>
cd environments/<environment>/modules/keys/files
openssl genrsa -des3 -out anthill.pem 2048
Warning
The key length depends on your situation, but at least 2048-bit key is recommended.
You will be asked for a password, copy/paste the password A here. Then extract the public key:
openssl rsa -in anthill.pem -outform PEM -pubout -out anthill.pub
Using the same password.
Push the keys into the git repository
git add anthill.pem
git add anthill.pub
git commit -m "Nothing to see here"
git push